BUILD
Build Your Own Nativity Scene
You don’t need to buy a ready-made nativity. With a few simple materials, you can build your own scene. This guide shows you what order to work in, which materials last from one Christmas to the next, and how to make your scene look old and real instead of store-bought. The step-by-step tutorials are below.
Short on money or space? See a nativity scene on a budget (ideas for $0, $10 and $25). Building one for the yard? See the outdoor nativity guide.
The building order
When a nativity scene falls flat, it’s usually because it was built backward: figures first, then scenery around them. You end up with a carpet of moss and figures floating on it, with no real ground and no horizon.
Build it the way you’d build a real village: from back to front and from the ground up. It’s also the order taught in the nativity-building schools of Germany and Austria, which offer full courses on it. See the Krippenbaumeister.
-
Backdrop and sky
Do it first, because you can’t reach it once the terrain is in. Sky & backdrop.
-
The shape of the terrain
Hills, slopes, and where the stable will sit. Ground & terrain.
-
The buildings
The stable, walls, bridge, well and mill: everything made of “stone.” See the stone wall, the bridge, and the well & the mill.
-
Water
Before the plants, because you need room to install a pump. The flowing fountain.
-
Wiring
Run the cables under the terrain while it’s still open. Lighting.
-
Plants
Plants hide the seams, so they go in after everything else. Moss & plants.
-
The figures
Always last. How to set up the figures.
This order assumes you build your nativity once and store it in one piece. If you take it apart every year, build it in sections that fit together: a village section, a stable section, a hillside section. The joints show a little more, but it’s far more practical.
Choosing the spot and the format
Decide where your nativity will go before you sketch anything. On a coffee table, people look down on it. On a dresser or a mantel, they see it straight on. That changes how you build it: from above, the ground matters and the backdrop hardly shows. Straight on, it’s the other way around.
Three formats cover almost every situation:
- The box: a frame closed on three sides, 16 to 32 inches wide (40–80 cm). The easiest format to get right. The frame hides the edges, holds the lights, and stores in one piece.
- The open board: a flat base people can see from every side. Much harder, because there’s no back panel to hide cables and no sides to hide the joints.
- The corner: built into the corner of a room, with the two walls as your backdrop. For a large nativity, it gives the most impact for the least work.
Always plan for 4 inches (10 cm) more depth than you think you need. Depth is what turns a display into a real scene, and it’s the one thing people always wish they had more of.
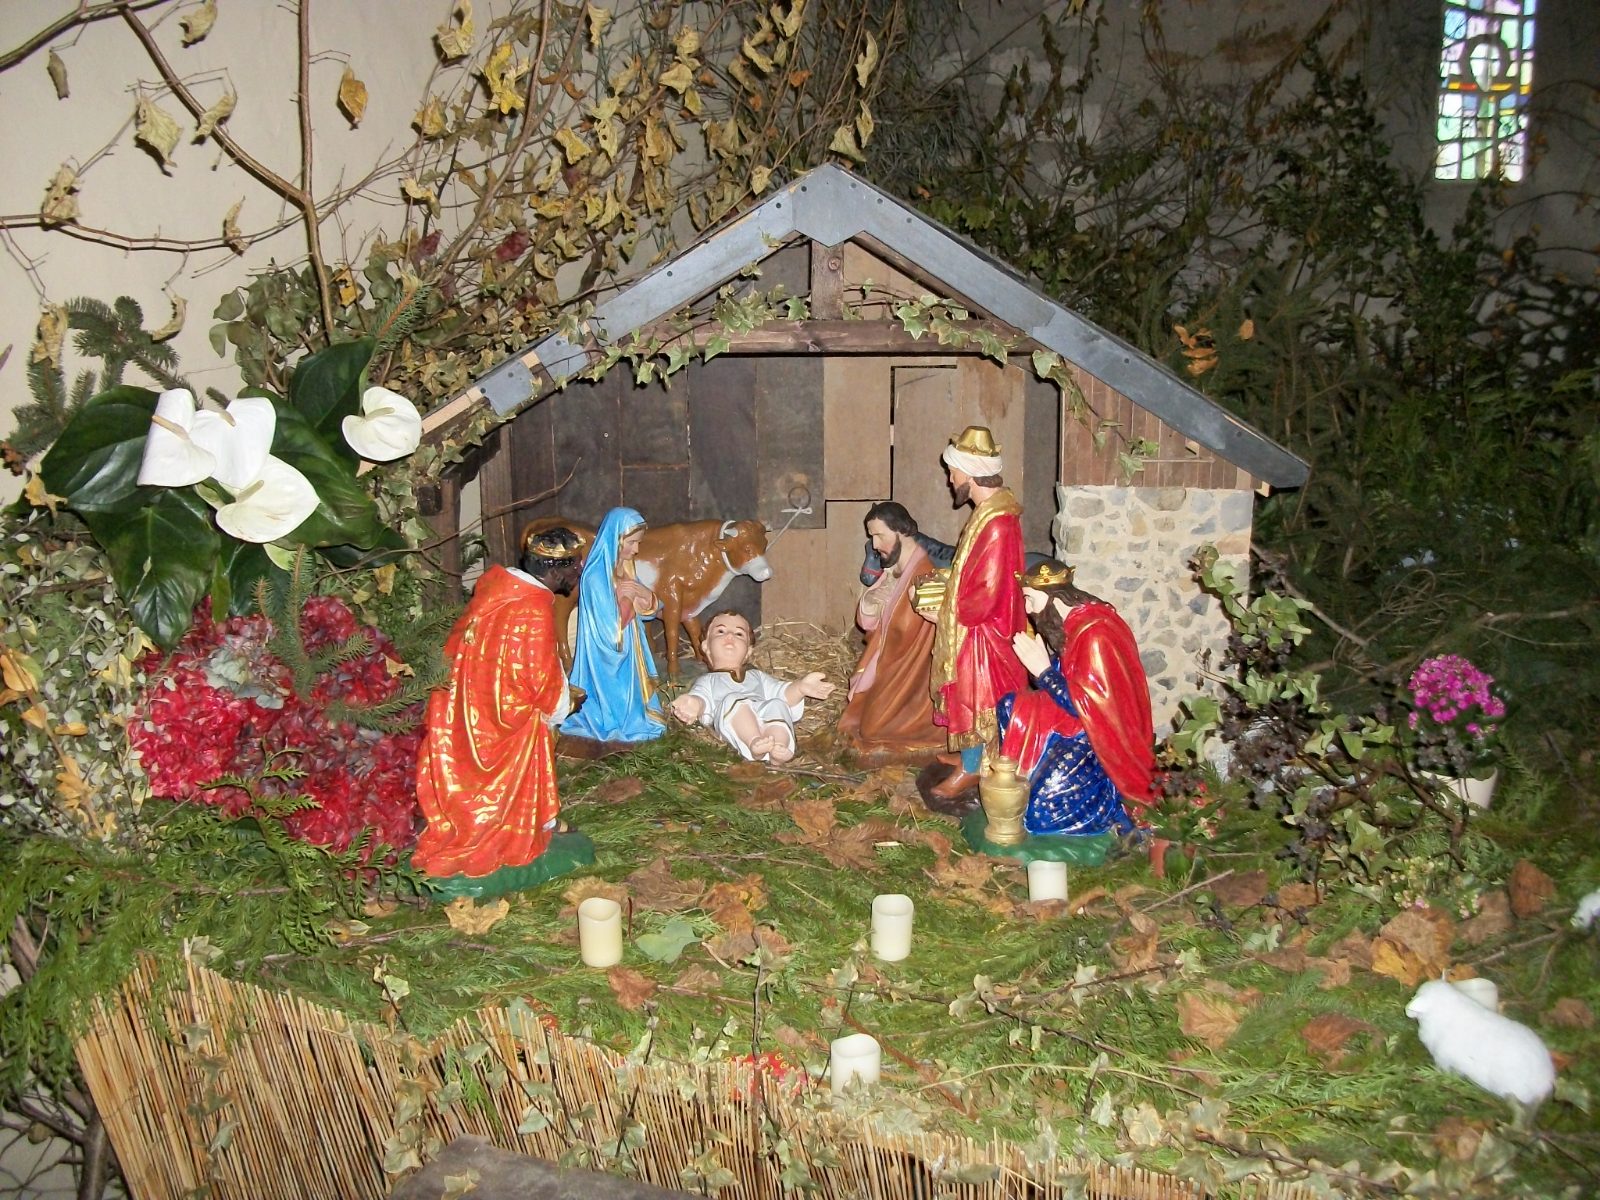
Materials that last
Your nativity will spend eleven months a year in storage, often in an attic, garage or basement. That’s hard on it: heat and cold, humidity, dust, and boxes stacked on top. Choose materials that can take it.
| Use | Good choice | Avoid |
|---|---|---|
| Rock, old walls | Cork bark, carved extruded polystyrene foam (the pink or blue insulation board) | Solid plaster (heavy, brittle) |
| Terrain structure | 3/16-inch (5 mm) plywood, foam board, rigid foam | Corrugated cardboard (warps with humidity) |
| Ground, textures | Premixed spackling, fine sand + white glue | Plain plaster (crumbles over time) |
| Gluing | White PVA glue, wood glue, low-temperature hot glue | High-temperature hot glue on foam (it melts it) |
| Plants | Preserved moss, preserved lichen, dried thyme | Fresh moss gathered in the woods |
| Paint | Matte acrylic, natural earth pigments | Glossy paint of any kind |
One rule covers almost everything: nothing shiny. Nativity lighting is soft and low, so the smallest glint gives away the material and breaks the illusion. If something shines, make it matte.
Scale: the one rule you can’t break
Everything else in this guide is up to you. Scale isn’t.
Pick one figure size and build everything to match it. A 3-inch (7 cm) figure represents a person about 5 feet 7 inches tall. So a door should be about 4¾ inches (12 cm) high, a step about ½ inch (1.2 cm), and a well about 2⅜ inches (6 cm), roughly hip height. An 8-inch (20 cm) door next to a 3-inch figure doesn’t look grand. It just looks wrong, and people notice before they can say why.
There’s one useful exception, and it’s on purpose: smaller figures in the back make the scene look deeper. That’s exactly what the tiny “puce” size is for. More in santon and figure sizes.
Five beginner mistakes
-
Putting everything on one level
Flat ground has no depth. Use at least two levels, and ideally a gentle slope from back to front.
-
Centering the stable
Place the stable about a third of the way in from one side. That leaves room for a path leading up to it. Put it dead center and it splits the scene into two flat, matching halves.
-
Bright white light from above
A nativity should feel like evening: low, warm, gentle light. Bright white light from above makes it look like a store display. Lighting.
-
Crowding
Forty figures on 20 inches (50 cm) of space is a crowd, not a village. Leave some empty space. It’s what makes the scene feel big.
-
Painting in harsh colors
Real stones aren’t gray. They’re beige, tan, greenish and weathered. Build up the aged look with several very thin washes, never one thick coat.
The tutorials
Each tutorial stands on its own, with materials, steps and common mistakes. In each group, they go from easiest to hardest.
The base and the format
The buildings
Water and plants
Light and finishing