STYLE
The Family Nativity
This is the one style in the series that’s defined by who makes it rather than how it looks. You can tell a family nativity because lots of hands made it, it keeps its wobbly bits on purpose, and it grows from year to year. It’s also, by far, the one people remember.
The principle
A grown-up’s nativity aims to look real. A family nativity has a different goal: everyone made a piece of it, and knows which one.
That flips the usual priorities. The slightly crooked bridge a seven-year-old built is worth more than the perfect one you could have made instead, because fifteen years from now, it’s the crooked bridge that will come out of the box with someone saying who made it.
The hard part: don’t fix things behind their backs. Kids notice right away when their piece has been redone overnight, and they understand exactly what it means.
What to give them, by age
| Age | What works | What frustrates |
|---|---|---|
| Ages 3–5 | Tearing and gluing moss, sowing wheat, placing pebbles, sprinkling sand, choosing where each figure goes | Anything that needs precision or waiting for things to dry |
| Ages 6–8 | Painting large surfaces, building a house from a box, making fir trees, gluing tiles, watering the wheat | Cutting with a utility knife, the four-pass weathering |
| Ages 9–12 | Carving a wall, building an arch over a form, wiring an LED string, keeping the inventory of figures | Nothing, really — just keep an eye on sharp tools |
| 13 and up | Anything, including the fountain and the lighting plan | Having decisions made for them |
The best job for a child of any age is arranging the figures. That’s where the story gets told, it takes no skill, and they can redo it as often as they like. See how to set up a nativity scene.
Safe materials
- Acrylic paint in jars, water-based, washable. No solvents, ever.
- White PVA glue (like Elmer’s) instead of a hot glue gun. It’s slower, which is annoying for you and helpful for them: it gives them time to fix things.
- Cardboard, boxes, tubes, corks. A tea box and some corrugated cardboard make an easy house.
- Avoid: foam cut with a hot wire (fumes), spray paint and spray snow (aerosols), and small parts around children under three.
- Be careful with fresh moss from the woods: besides the mold problem described in moss and plants, it sometimes has bugs in it, so wash your hands afterward.
A project in four sessions
A family nativity works better in four short sessions than in one long Sunday. A seven-year-old’s attention lasts about forty minutes, and the glue needs time to dry.
-
Session 1: the ground
Glue the shapes, build the slopes, mark out the path. Everyone can help and nothing is fragile yet. Allow an hour. The method.
-
Session 2: painting
Start with the large surfaces, in three shades of brown. Have old clothes and a covered table ready: it’s the messy session, and it’s the kids’ favorite.
-
Session 3: the buildings
One for each person. The stable for the grown-up, a village house for each child. If they don’t match, that’s part of the charm.
-
Session 4: plants and setting up
Moss, fir trees, sand, then the figures. Always end with arranging the figures, and let the kids decide.
And a fifth one on December 4, if you like the Provençal custom: plant Saint Barbara’s wheat. Three saucers, some cotton, seeds, and three weeks of watching it grow. Nothing else in the whole nativity gives so much wonder for so little effort.
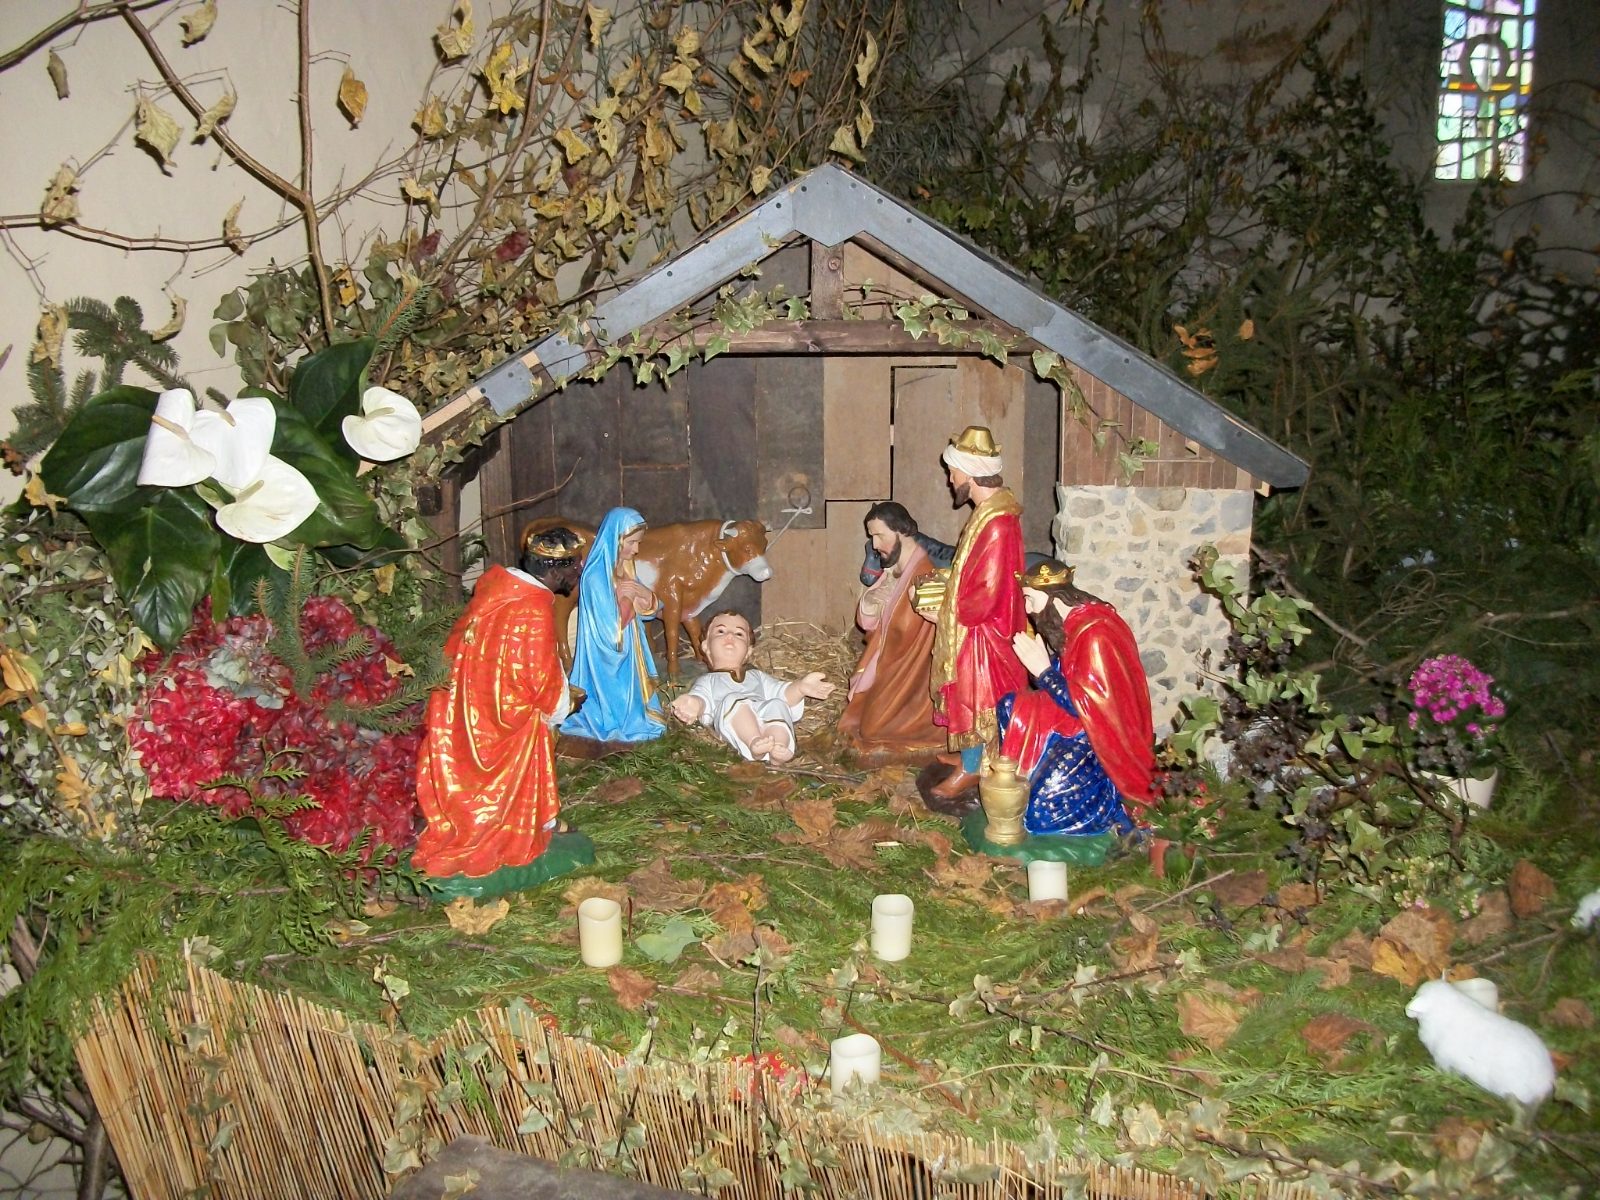
The ritual, which matters more
You only build it once. The traditions come back every year, and they’re what stays with you.
- On December 4, plant the wheat.
- During Advent, move the figures about half an inch toward the stable each evening. It takes ten seconds and gives shape to the whole month.
- On Christmas Eve, lay the Baby Jesus in the manger, traditionally carried by the youngest person in the house.
- From December 25 to January 6, move the Three Wise Men forward. They start from the farthest corner and take twelve days to arrive. See the journey of the Wise Men.
- On February 2, Candlemas, put everything away together.
None of these takes talent, money or planning. They’re what make a child remember the nativity, much more than how good the scenery looks.
What to keep
Three things, and the third is the one people forget:
-
The pieces, even the failures
Write on the back in pencil: the name and the year. “House, Emma, 2026.” Ten years from now, that note will mean more than the house.
-
One photo a year
Same angle, same framing, every year. Together the photos become a keepsake of their own, showing the nativity growing up alongside the kids.
-
One figure a year
Picked by a different child each time, and written down in your list of figures with the date and the name. That’s how a nativity becomes a family heirloom instead of just a decoration.
Careful storage matters too, and not just for practical reasons: a piece crushed in a box in the attic is a story lost. How to store it.